
Welcome
Ogirdor MasterPhoto is the most powerful pocket photo editor that exists... and we will guide you to see how easy it's to use.


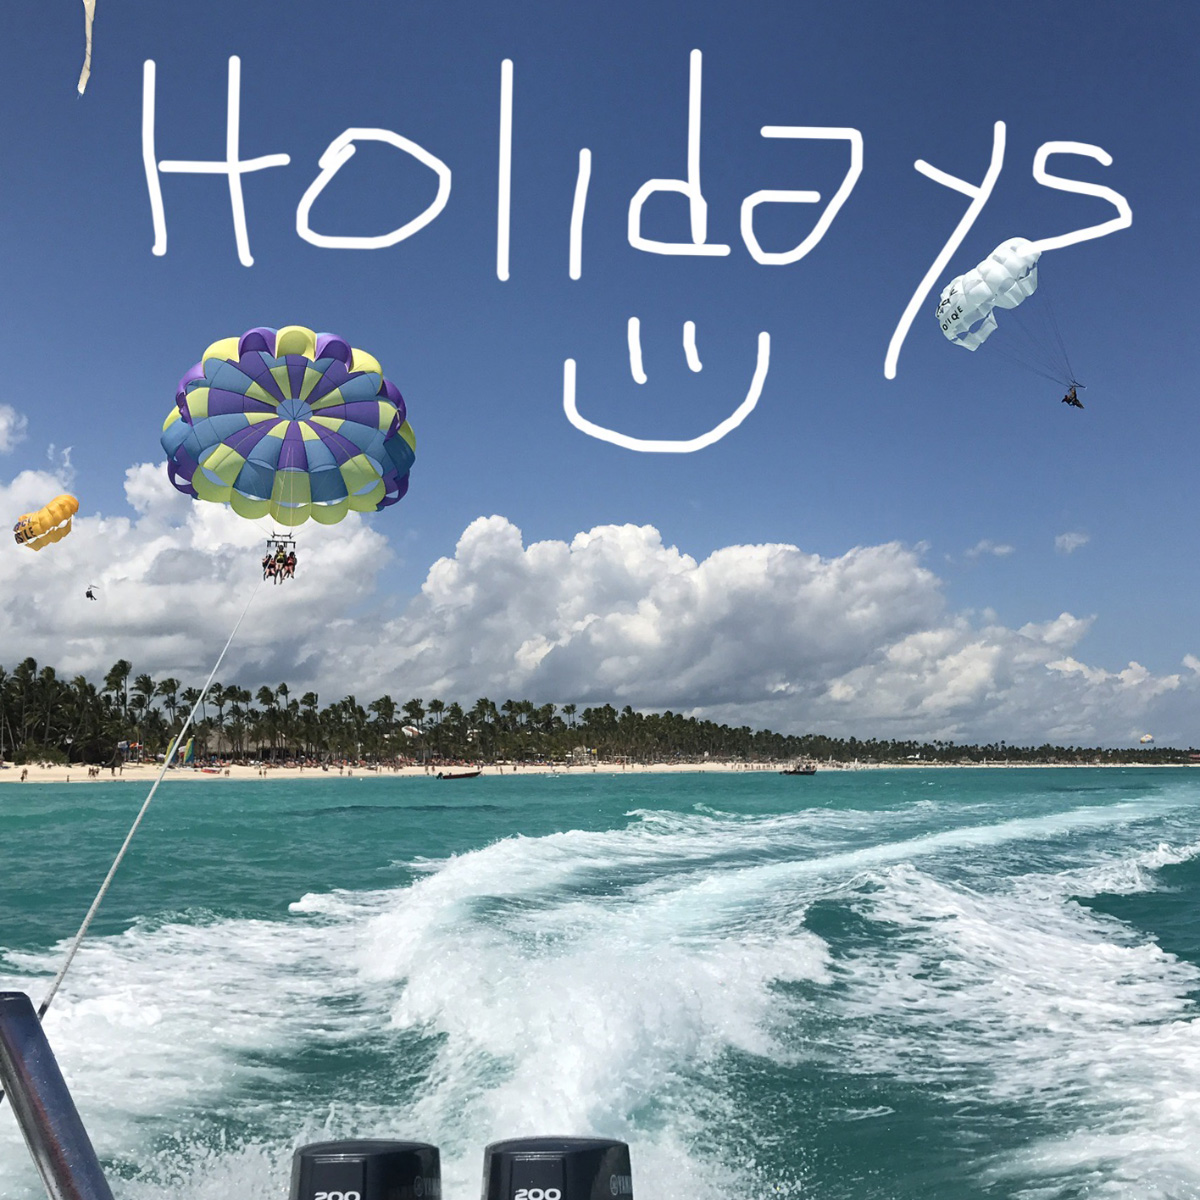
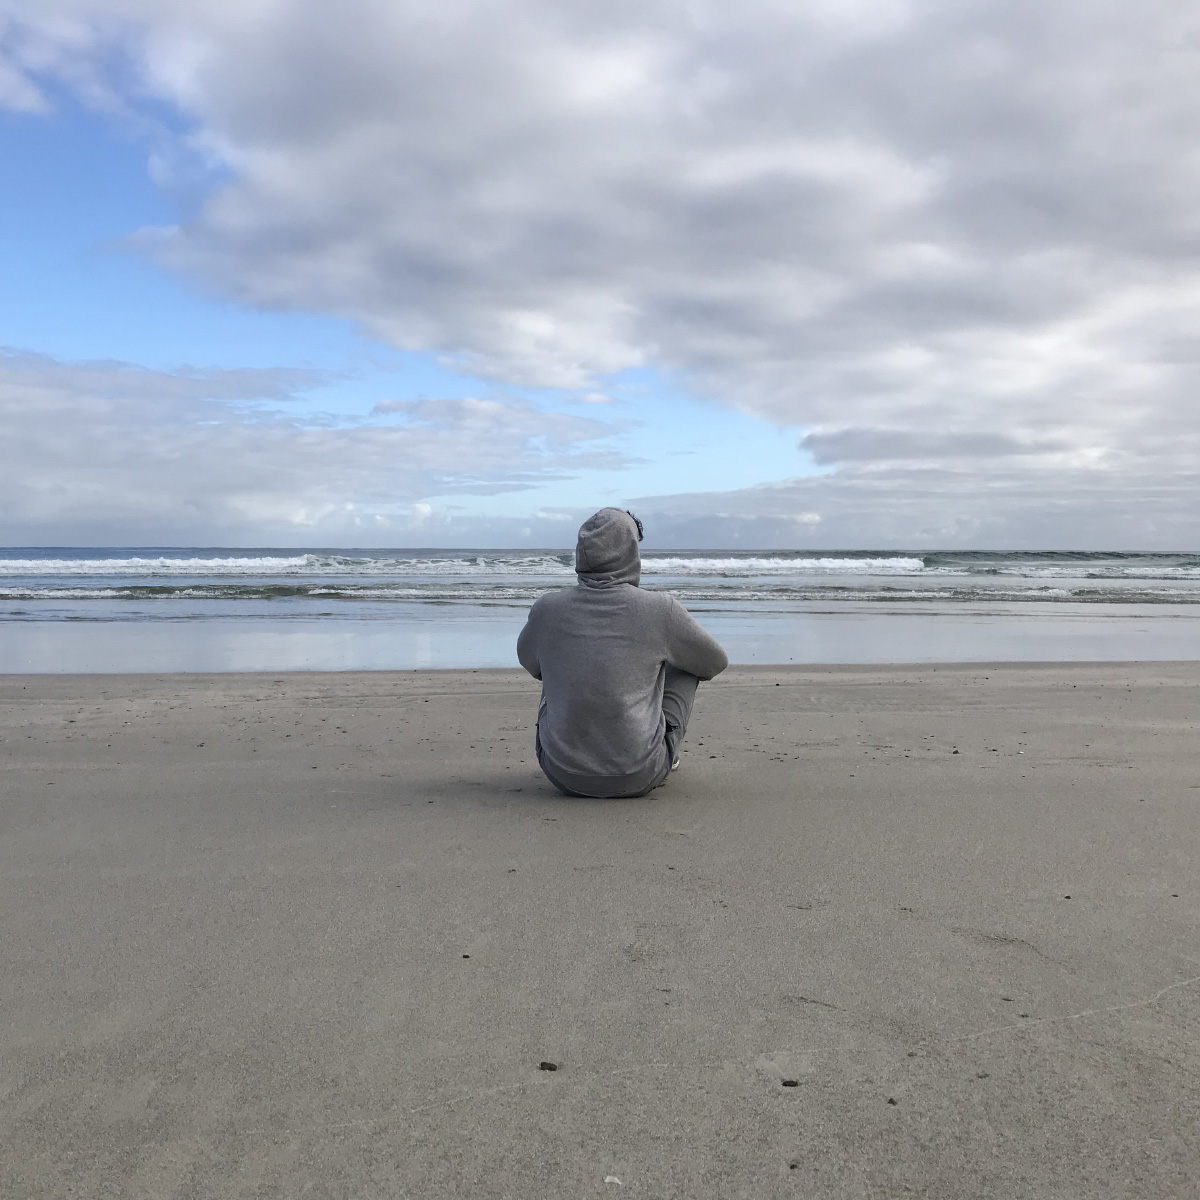
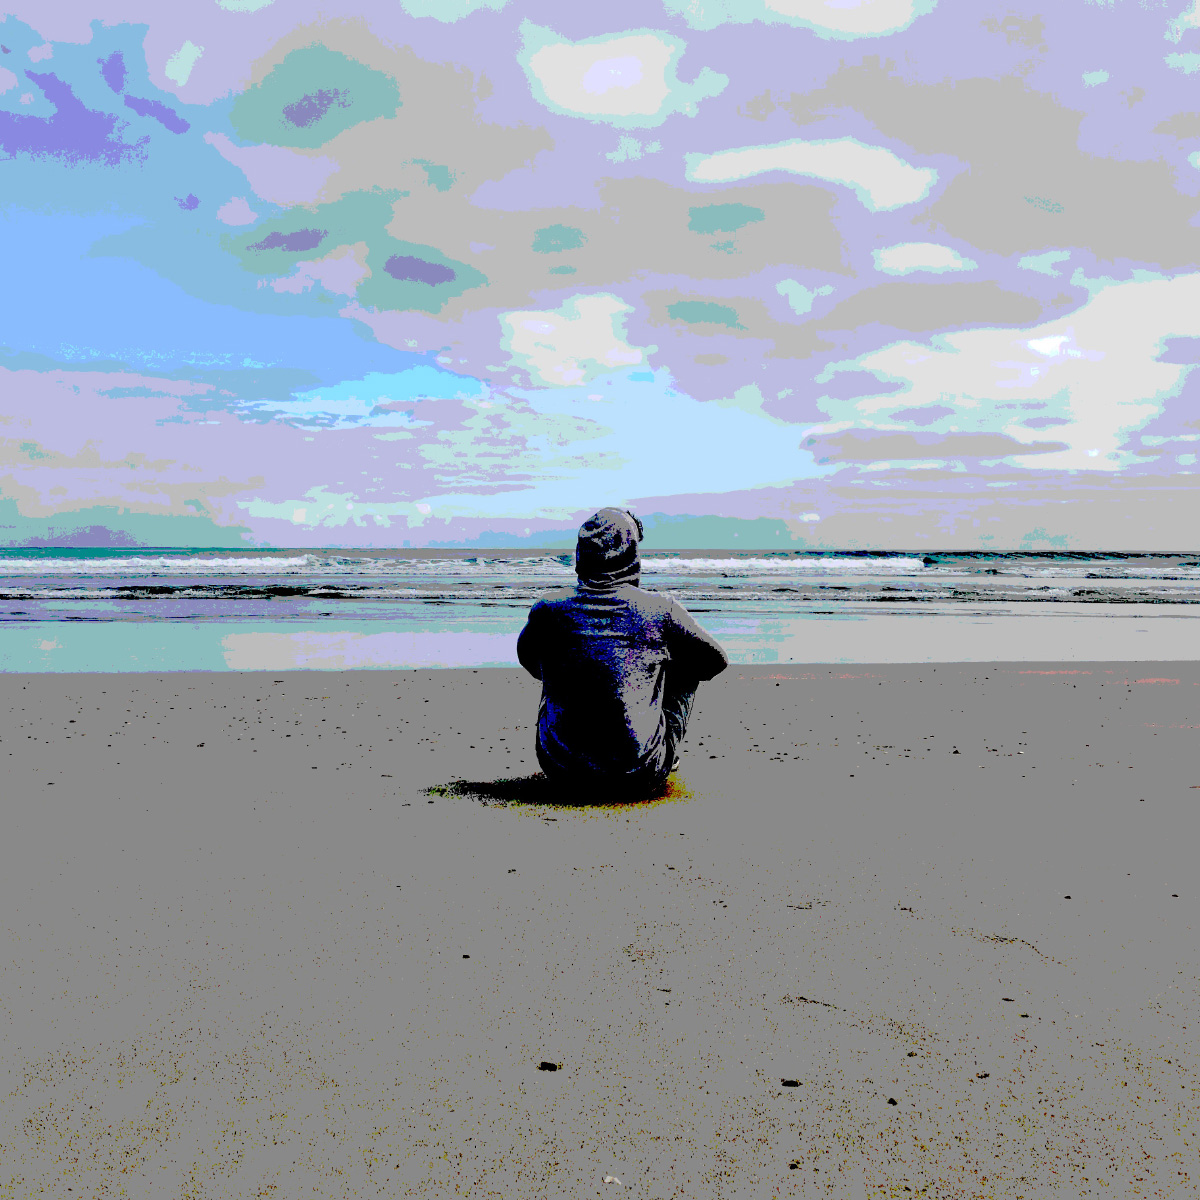
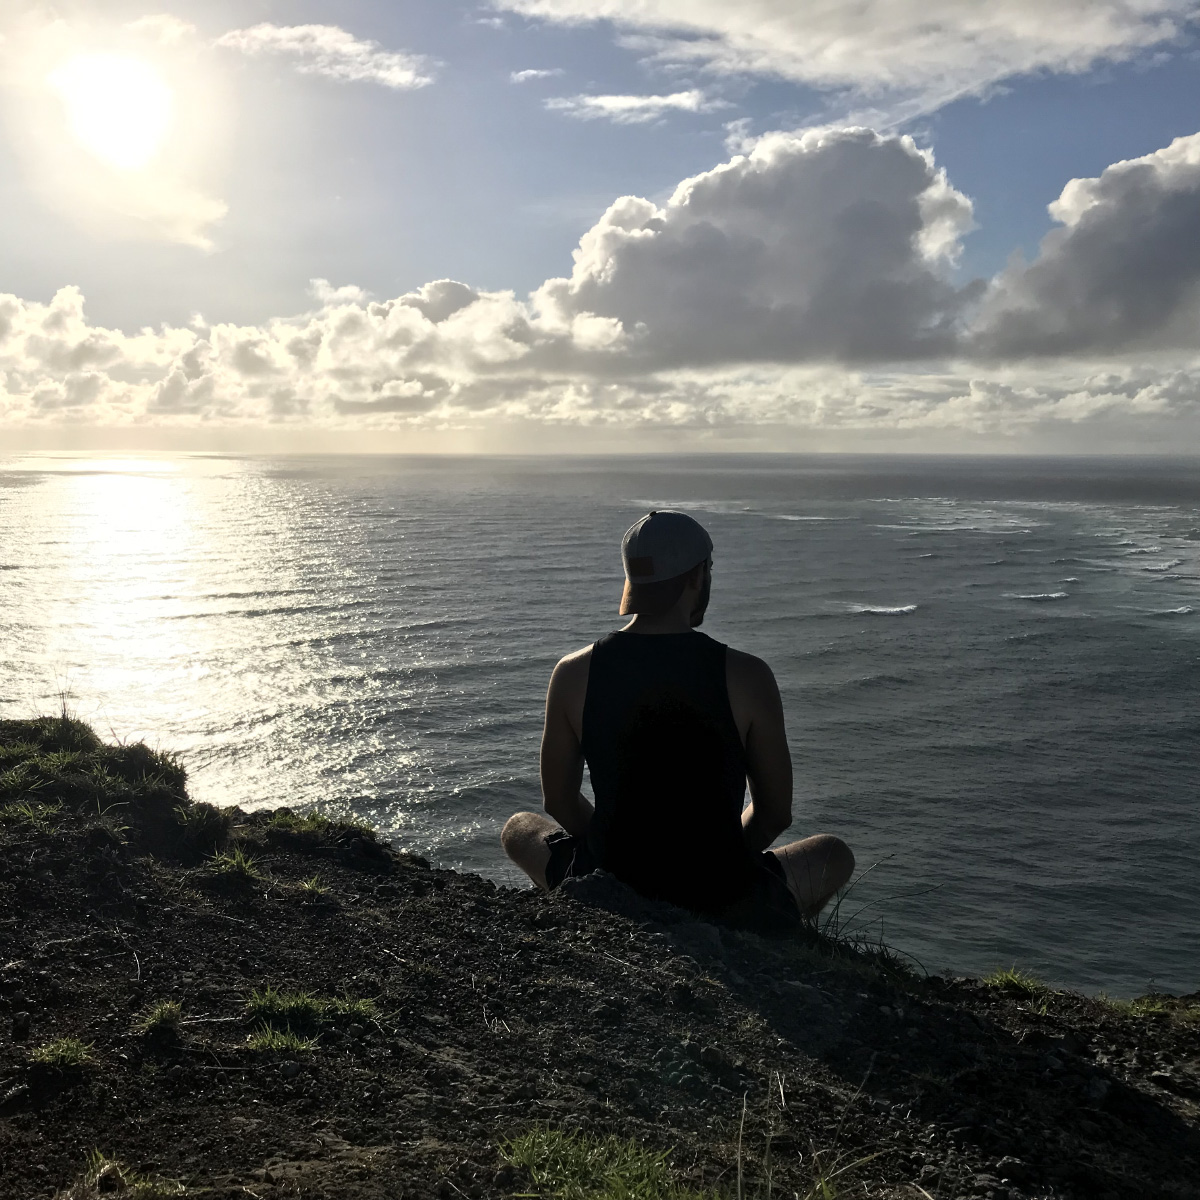
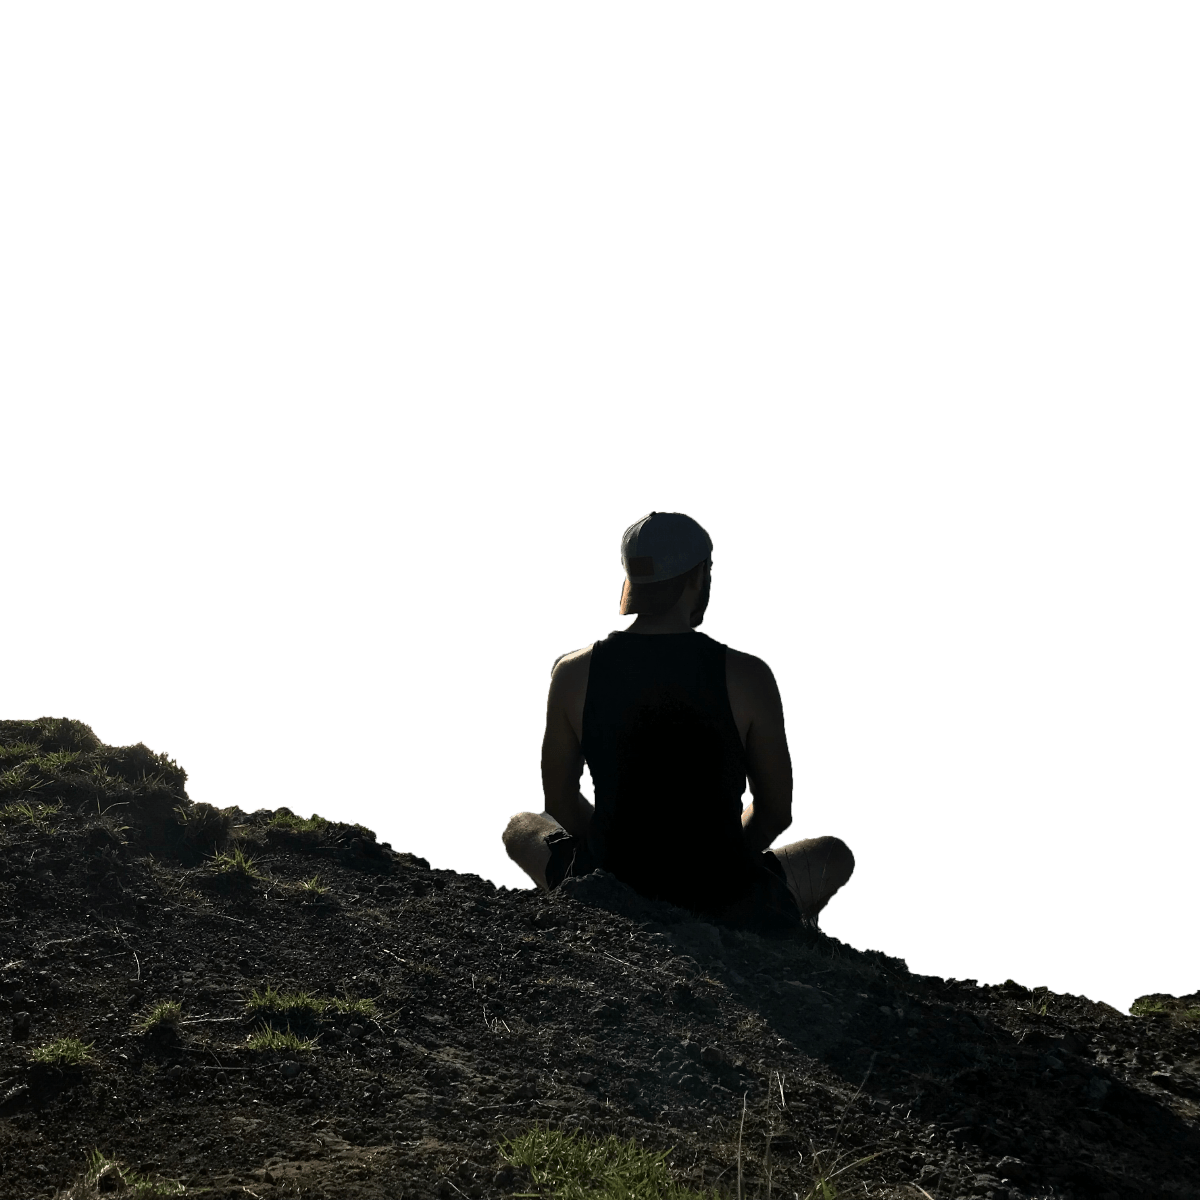
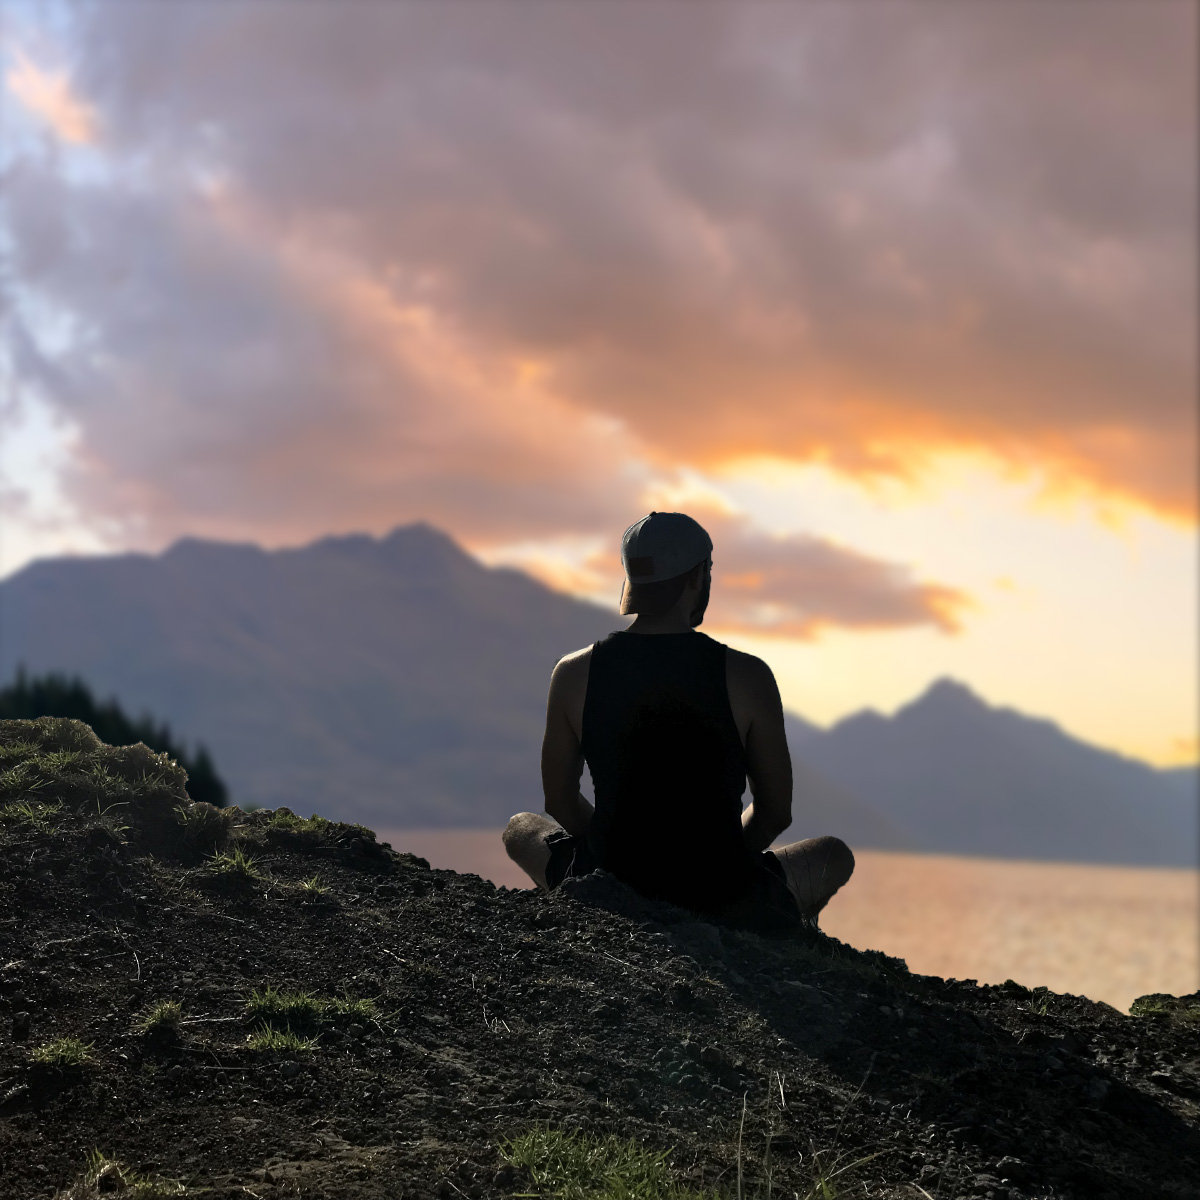
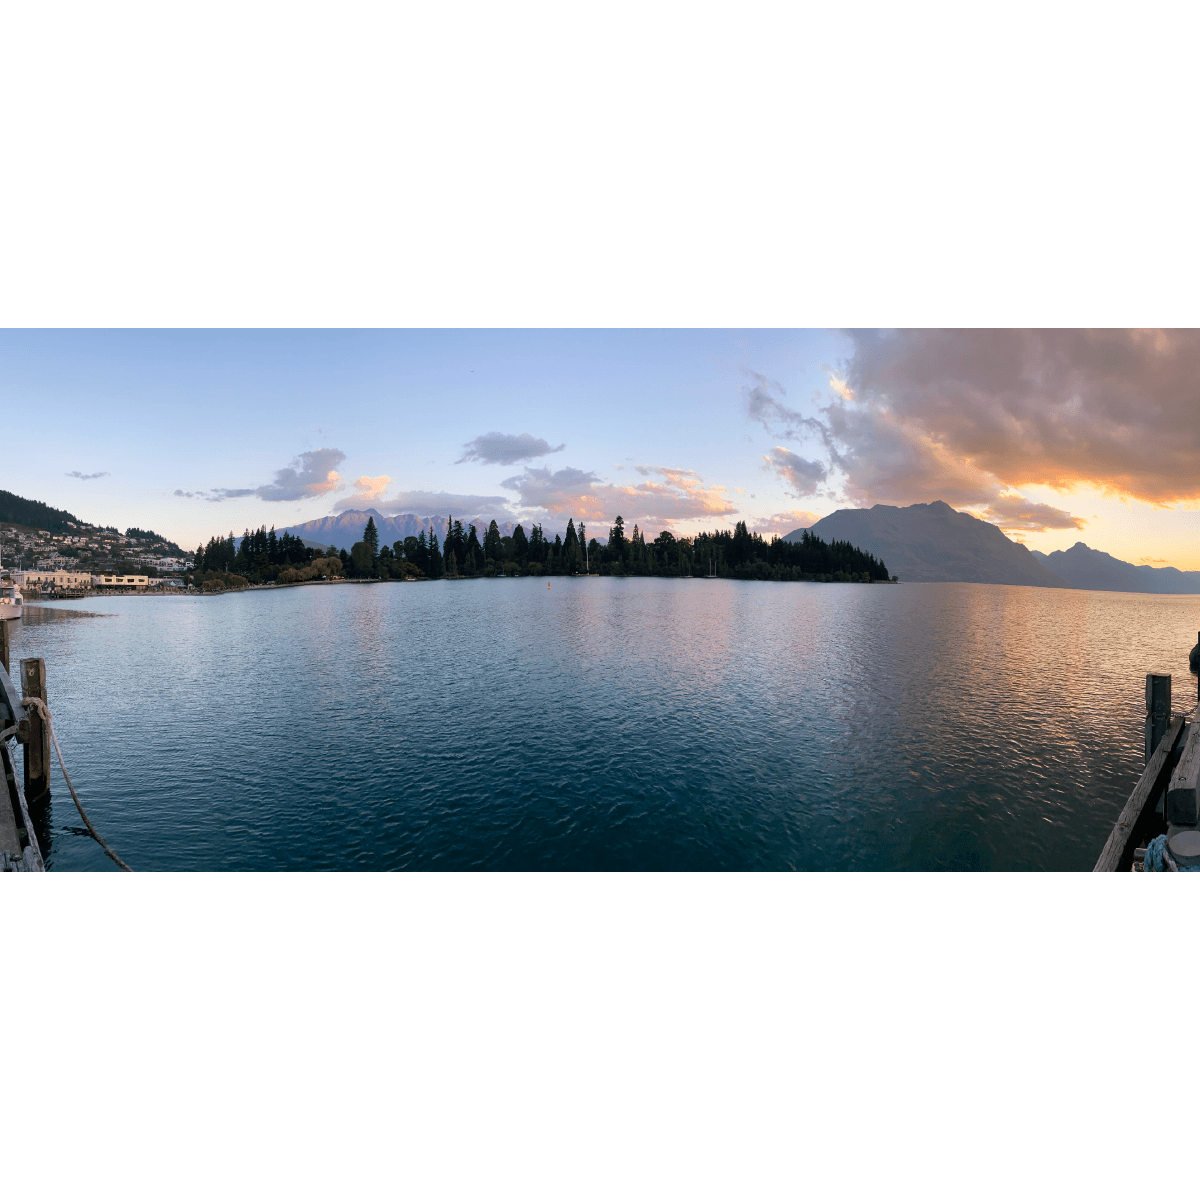
Examples
These are just a few examples of what our artists are doing.
Let's start
The main screen is the starting point. The available projects are listed here. You can create a new project, review the documentation, or get information about the app.
Create: creates a new project with an empty layer.
Account: displays a screen with information about the application.
Help: displays a screen with the application documentation.

Project
A project is a composition of layers. In turn, each layer has a content. You can save the project or export parts of it as images. When the project is saved, its properties, layers, images, and change history are saved.
Close: closes the project, showing a dialog to save changes if there were changes to the project.
Edit: displays a menu for editing the basic properties of the project.
Info: displays a sheet with the properties of the project and the selected layer.
Layers: displays a sheet with all the layers in the project.
History: shows a window with the history of changes that have been made in the project.
Undo: undoes the last change that was made.
Redo: redoes the last change that was made.
Share: generates an image with all the content of the project and displays a sheet with options to share that image.
Copy: generate an image with all the content of the project and copies that image to the clipboard.
Paste: creates a new layer with the image on the clipboard.
Settings: displays a sheet to edit the main application settings.

Layer
Layers are the basic building blocks of the project. A project is a collection of layers stacked on top of each other. Each layer has a content and an associated type.
Add: creates a new empty layer.
Delete: deletes the selected layer.
Name: displays a field to edit the name of the selected layer.
Visible: shows or hides the selected layer.
Opacity: displays a field to edit the opacity of the selected layer.
Blend mode: displays a field to edit the blending mode of the selected layer.
Clone: creates a new layer, copy of the selected layer.
Merge: shows a field to choose a layer, the result will be a new layer that is the combination of the selected layer and the chosen layer.
Mask: shows a field to choose a layer, the result will be a new layer that is the combination of the selected layer and the chosen layer, where the first will determine the shape and the second the content.
Grid: displays a menu to configure how the selected image will be divided into a set of smaller layers/images.
Top: moves the selected layer to the top.
Up: moves the selected layer up one position.
Bottom: moves the selected layer to the bottom.
Down: moves the selected layer down one position.
Share: displays a sheet with options to share the image of the selected layer.
Copy: copies the image of the selected layer to the clipboard.
Navigation
You can navigate through the project without modifying its content, go through different parts, zoom in or out. Every time a layer is selected, it is positioned at the front of the project without modifying the order of the layers. You can adjust the settings so that layers above the selected layer are hidden.
View: enables navigation gestures (movement and zoom) in the project. This action does not modify any properties of the project or its layers.
Center: centers the view on the zero point of the project coordinates.
Zoom: sets the project's view zoom to 100%.
History
Every time any change is made in the Project a record is created in the History. You can redo and undo any of those changes. You can even keep the History when you save the Project (this option is configurable).
Content
Each layer has a content and an associated type. The type of the layer depends on its content. There are 5 types: None, Image, Text, Drawing, and Shape. By default the type of the layer is None until a content is established. There are operations that change the type of the layer (for example when applying a filter).
Gallery: shows the photo gallery to choose the image to be uploaded to the selected layer.
Camera: shows the camera interface to take the photo to be uploaded to the selected layer.
Drawing: displays a menu for editing the properties of the tracing. While this menu is active, you can draw on the selected layer.
Text: displays a menu for editing the properties of the text.
Shape: displays a menu for editing the properties of the shape.
Filter: displays a menu to choose the filter to apply to the selected layer.
Eraser: displays a menu for editing the eraser properties. While this menu is active, you can erase areas of the selected layer.
Shadow: displays a menu for editing the shadow properties to apply to the selected layer.
Pattern: displays a menu for editing the pattern properties to apply to the selected layer based on its original content image.
Segment: displays a menu to configure how the boundary between the main figure and the background of the image will be detected to delete the latter. While this menu is active, you should draw a single shape around the figure you want to keep.


Transformations
If the Layer has content, the Transformations can be used.
Translate: enables the translate gesture on the selected layer. If this option is pressed for one second, a menu is displayed to precisely edit the translation distance.
Scale: enables the scaling gesture on the selected layer. If this option is pressed for one second, a menu is displayed to precisely edit the scaling factor.
Crop: enables the cropping interface on the selected layer. If this option is pressed for one second, a menu is displayed to precisely edit the cropping options.
Rotate: enables the rotation gesture on the selected layer. If this option is pressed for one second, a menu is displayed to precisely edit the angle of rotation.
Rotate 90 CW: rotates the selected layer 90 degrees clockwise.
Rotate 90 CCW: rotates the selected layer 90 degrees counterclockwise.
Flip H: flips the selected layer horizontally.
Flip V: flips the selected layer vertically.
Shear: displays a menu to precisely edit the transvection transform options.
Image
A Layer accepts a single Image.

Text
A Layer accepts a single Text.
Text: displays a field to edit the text.
Font: displays a field to edit the font.
Size: displays a field to edit the size.
Color: displays a field to edit the color.
Alignment: displays a field to edit the alignment.
Line height: displays a field to edit the height of the lines.
Drawing
A Layer accepts multiple Paths.
Size: displays a field to edit the size.
Hardness: displays a field to edit the hardness (how opaque/transparent is the edge of the path).
Color: displays a field to edit the color.
Is shape: while this option is enabled, the path will be completed to generate a closed figure.
Lines detection: while this option is enabled, the path will be interpolated to approximate it to a sequence of lines.
Tolerance: displays a field to edit the tolerance in the path interpolation.

Shape
A Layer accepts a single Shape.
Shape: displays a field to edit the type (circle, star, triangle, rectangle, pentagon, or hexagon).
Size: displays a field to edit the size.
Background: displays a field to edit the background.
Border size: displays a field to edit the border size.
Border color: displays a field to edit the border color.
Filter
If the Layer has content you can use the Filter tool. There are dozens of filters available, grouped into 5 groups.
Color: displays the color filters.
Effect: displays the effect filters.
Style: displays the style filters.
Noise: displays the noise filters.
Blur: displays the blur filters.
Eraser
If the Layer has content you can use the Eraser tool.
Size: displays a field to edit the size.
Hardness: displays a field to edit the hardness (how opaque/transparent is the edge of the path).
Is shape: while this option is enabled, the path will be completed to generate a closed figure.
Lines detection: while this option is enabled, the path will be interpolated to approximate it to a sequence of lines.
Tolerance: displays a field to edit the tolerance in the path interpolation.
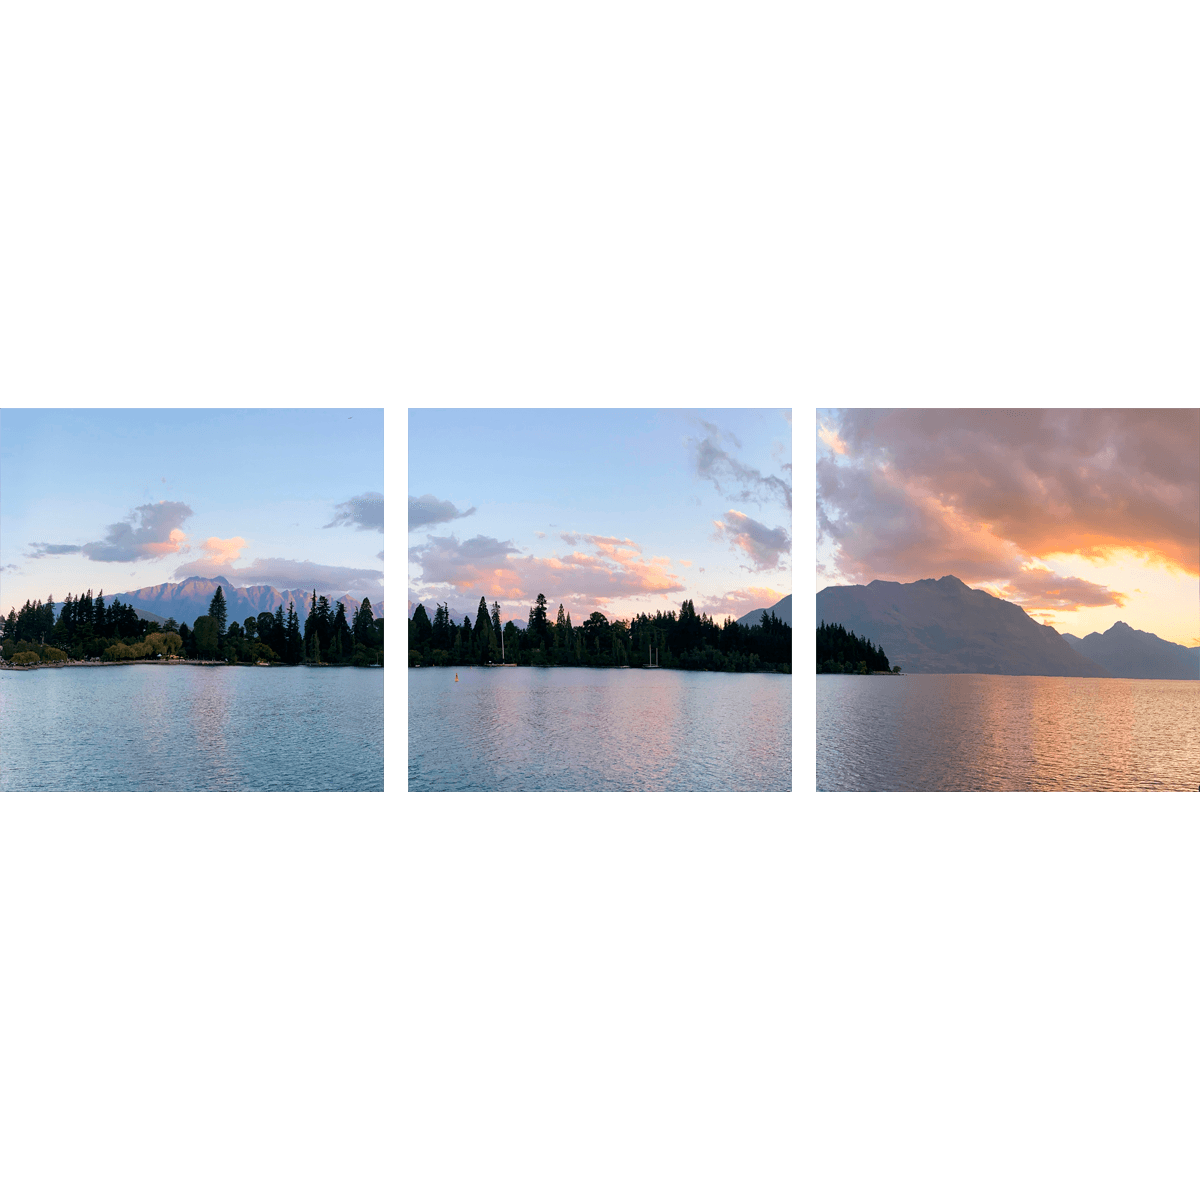
Grid
If the Layer has content you can use the Grid tool.
Layout: displays a field for editing the grid layout (between 1 and 3 rows, between 1 and 3 columns).
Alignment: displays a field to edit the alignment.
Is square: while this option is active, the image will be divided into smaller, square-shaped blocks.
Technical aspects
The images are limited to 12MP, if they are larger, they will be scaled to give the impression that they are larger but the actual number of pixels will not be more than 12MP.
Many operations need to rasterize the content of the layers to work (examples: eraser, filter, scaling, rotation).
The history of changes is limited to the memory of the device, the more RAM, the more changes can be kept in memory for the history.
While some operations are applied, the preview of the images may differ slightly with the final (higher quality) result. This is done to prioritize the real-time performance of the changes.
The image that results to export the project cannot be larger than 25MP.
Done!
Brilliant! You are now ready to use Ogirdor MasterPhoto and unleash your ideas... the limit is your imagination.